All-in-one real estate solution


eGO Academy › Real Estate Software › How to install the Microsoft Translator APP?
Microsoft Translator provides eGO Real Estate users a free and automatic translation of contents on their websites and also on their eGO Real Estate App.
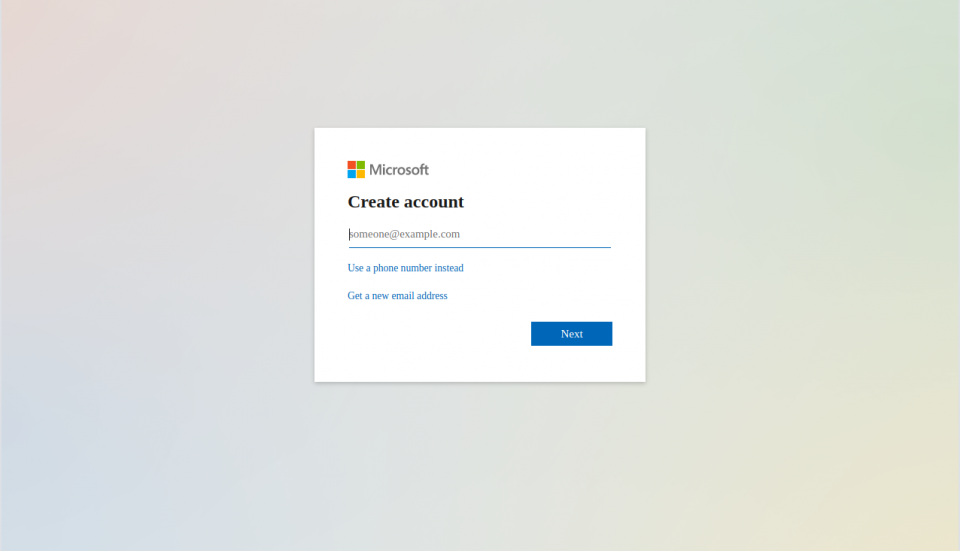
Access/Create a Microsoft account
To use Microsoft’s automatic translation services, you must have a Microsoft account. If you don’t have one, you can create it here for free;
After creating your Microsoft account you can go to the next step, which is to create a Microsoft Azure account. This one will give you access to the translator.
You must create this account to set up your translations service. Please follow all the steps to successfully conclude the process.
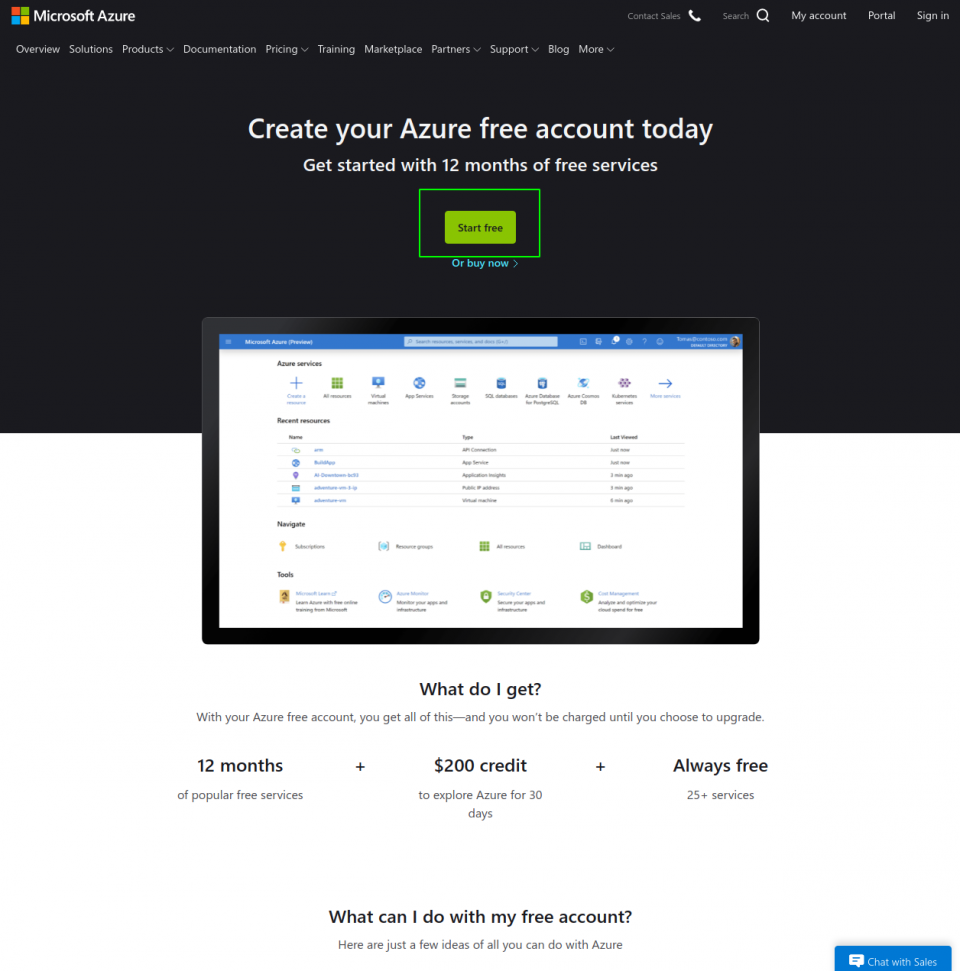
Step 1 – Access Microsoft Azure
Go to https://azure.microsoft.com/en-us/free/ and click on Start free
Step 2 – Fill in all the requested information
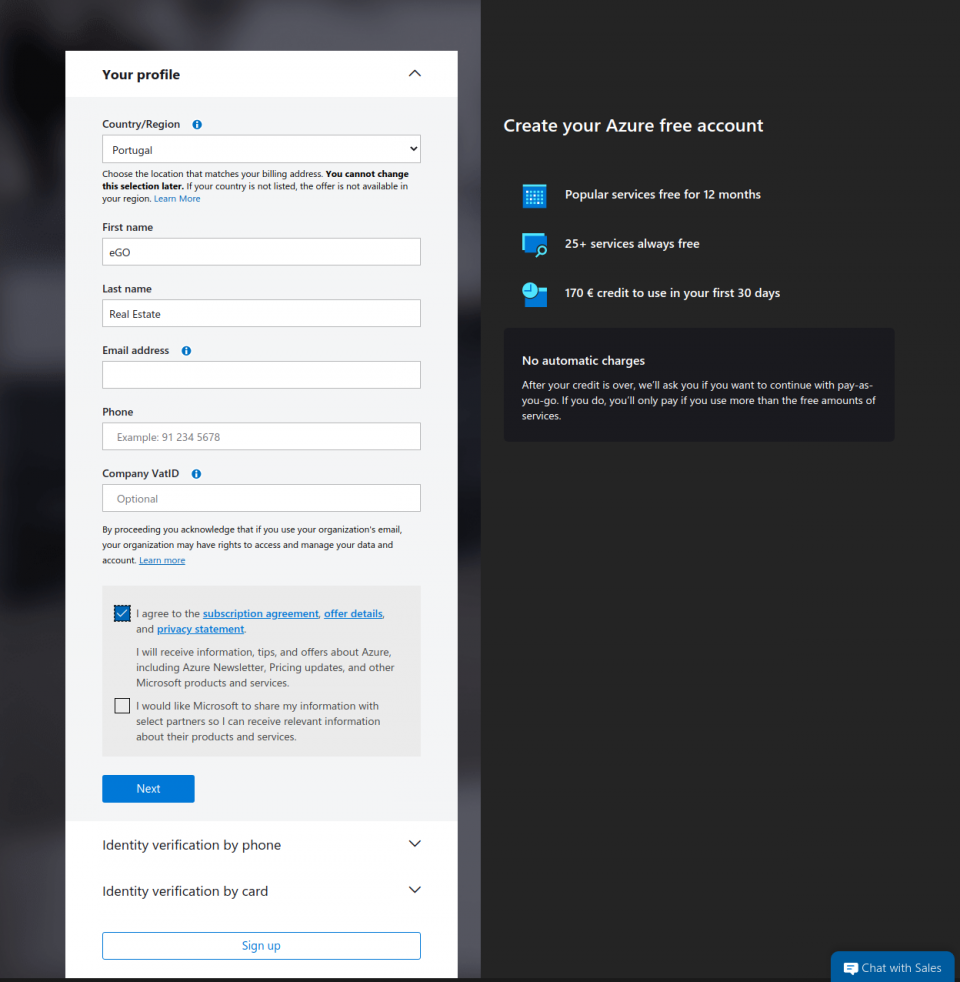
On Identity verification by phone you must insert your valid mobile contact since you will receive an activation message;
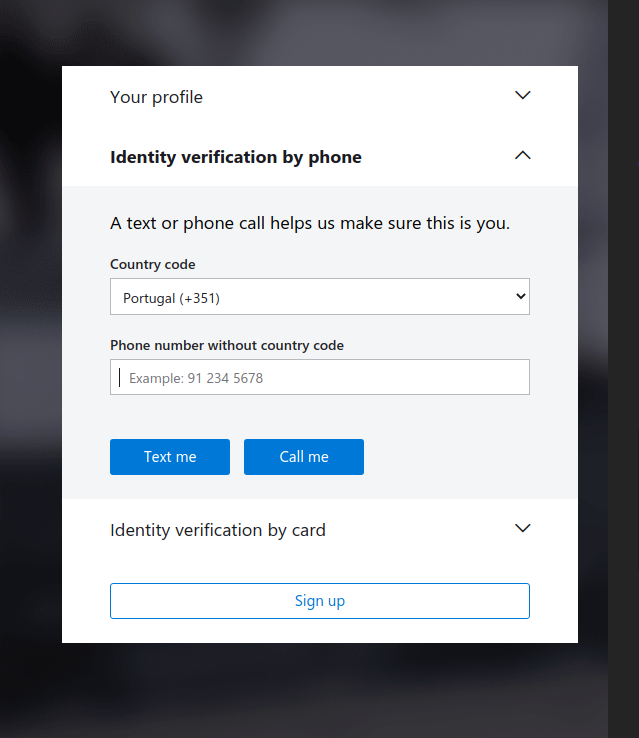
Insert the Verification Code and click on Verify code
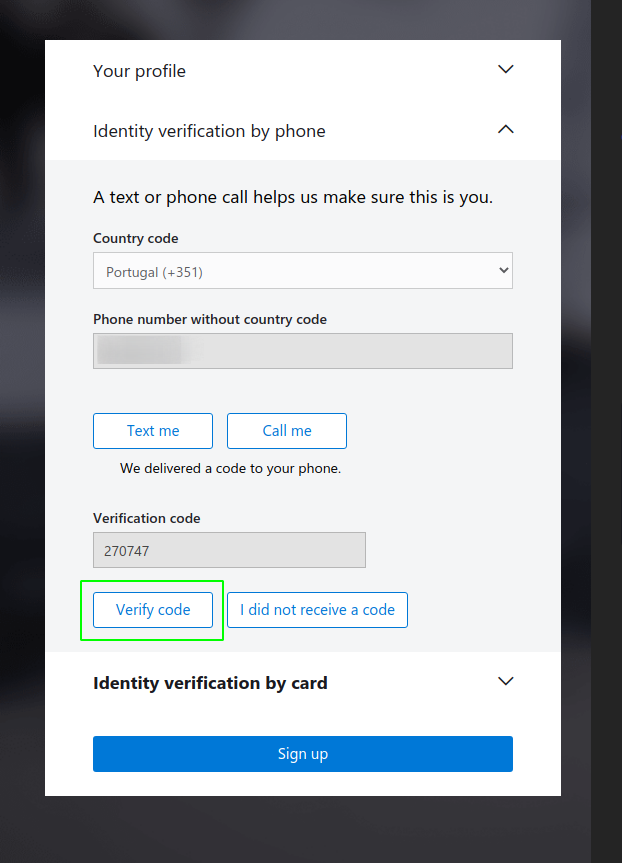
After that, click on Build in the Portal .
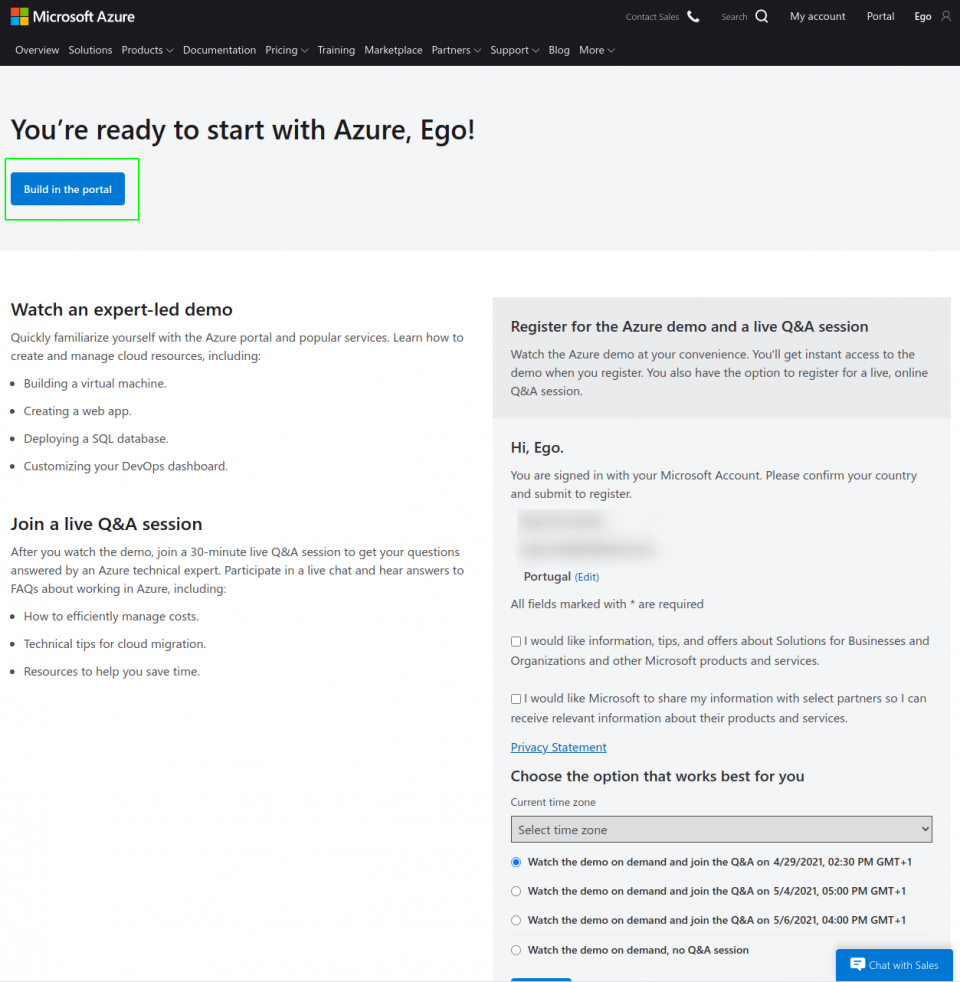
Your account has been successfully created, now is time to subscribe the Microsoft Translator resource.
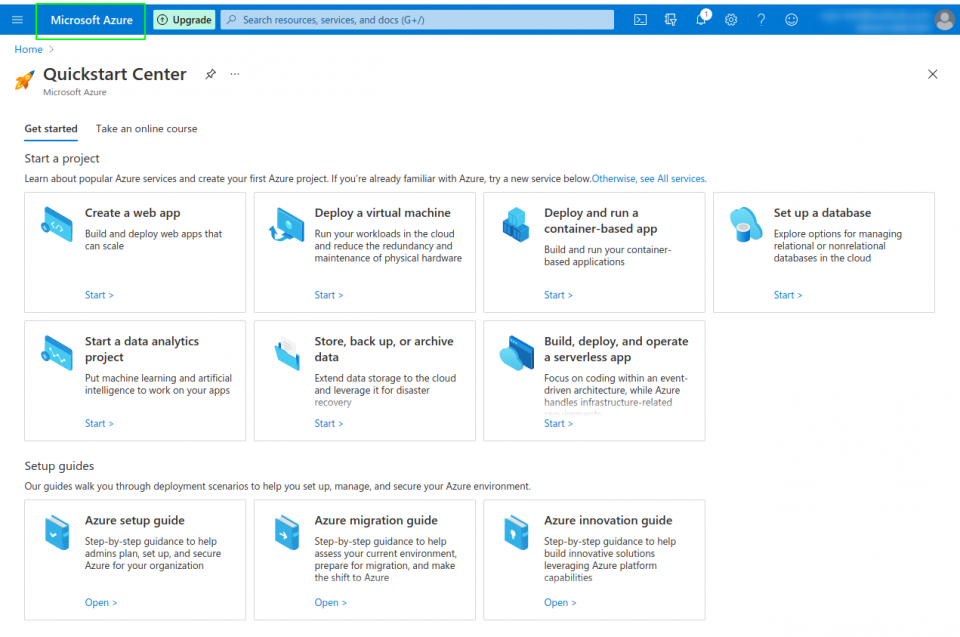
Step 3 – After the creation of you account you will be sent to the Quickstart Center, click on Microsoft Azure, located on the header, to open Azure services.
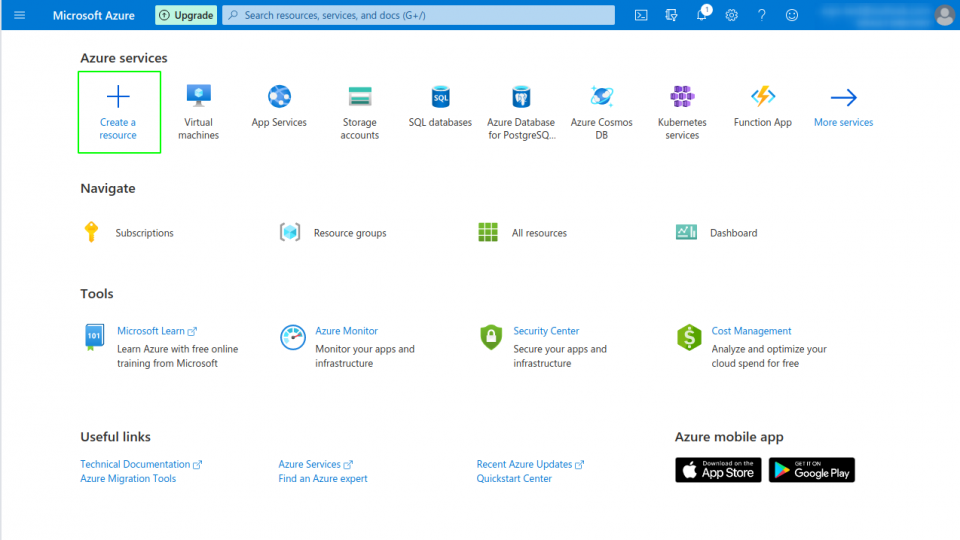
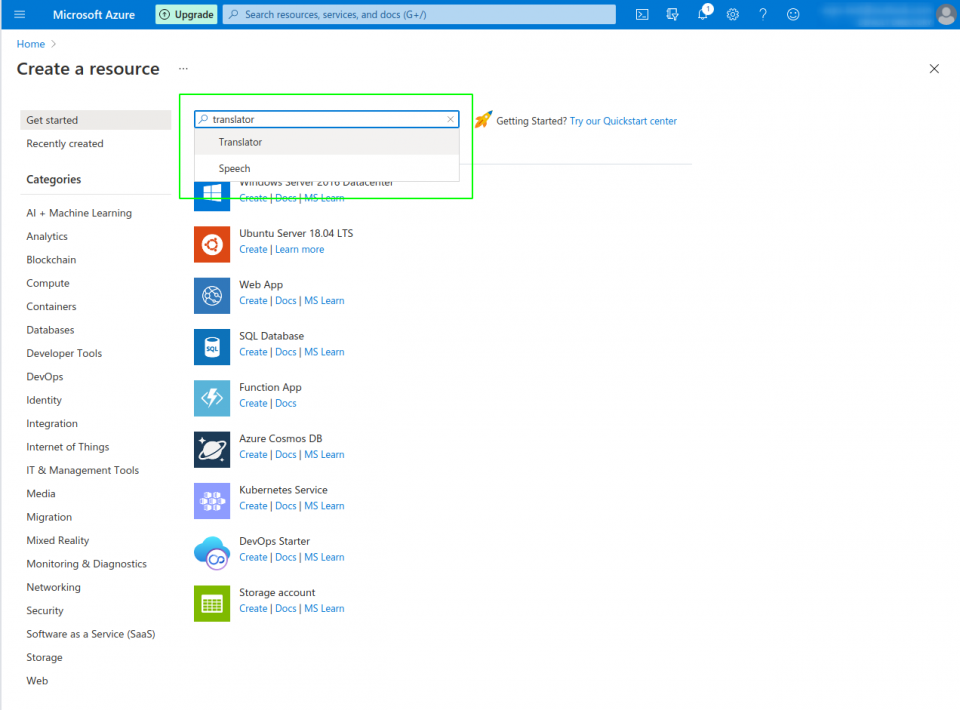
After that you should click on “Create a resource”.
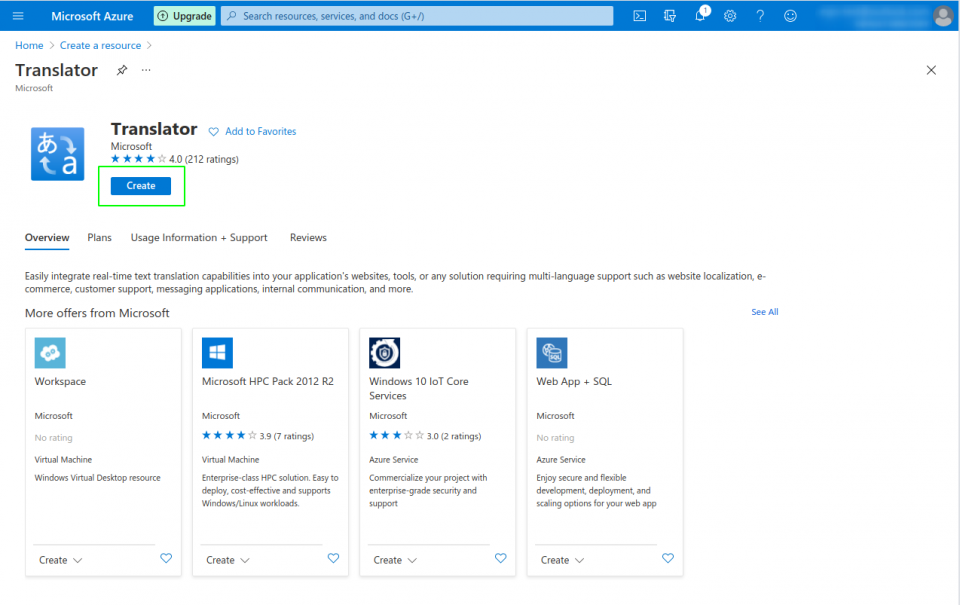
Step 4 – You should search for Translator and then click on “create”.
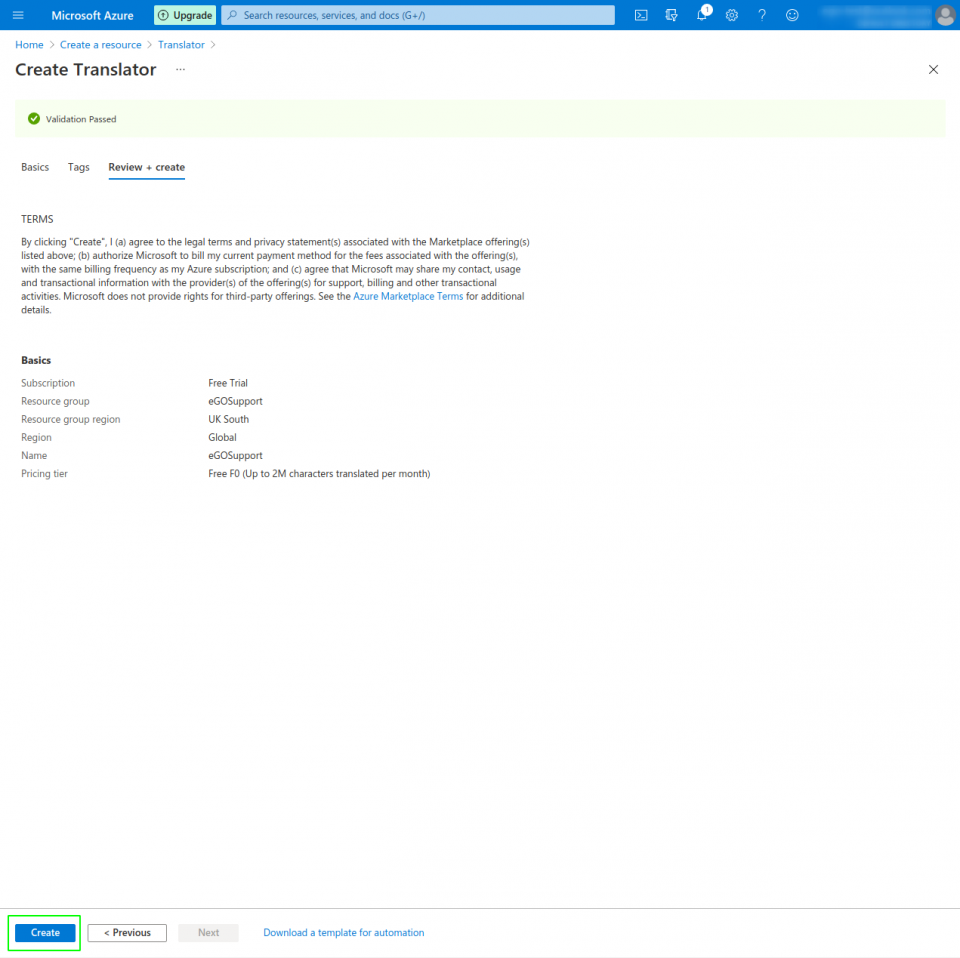
Step 5 – Fill in the requested information:
Subscription: Choose the model: Free Trial
Resource group location: Choose the options UK South
Name: Choose a name for the service (for example, your Agency’s name)
Pricinf tier: Choose the option F0
At the end, click on Review + Create

A validation passed warning will appear. Click on “create”.
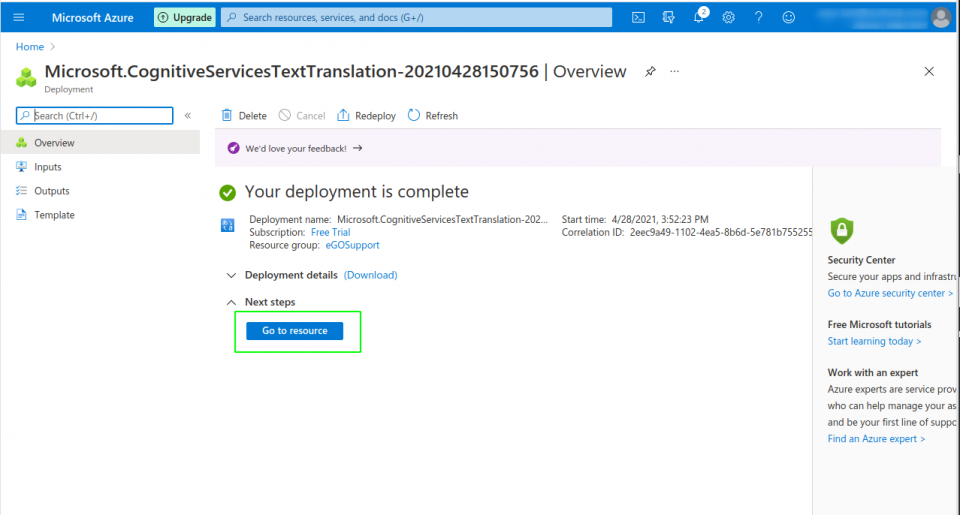
Step 6 – After the set-up, the system may take a few seconds loading. Please, wait! After, click on “Go to resource”
Step 7 – Next, go to the “keys and endpoint” option on the left sidebar menu, click on “Show Keys” and copy the Key 1.
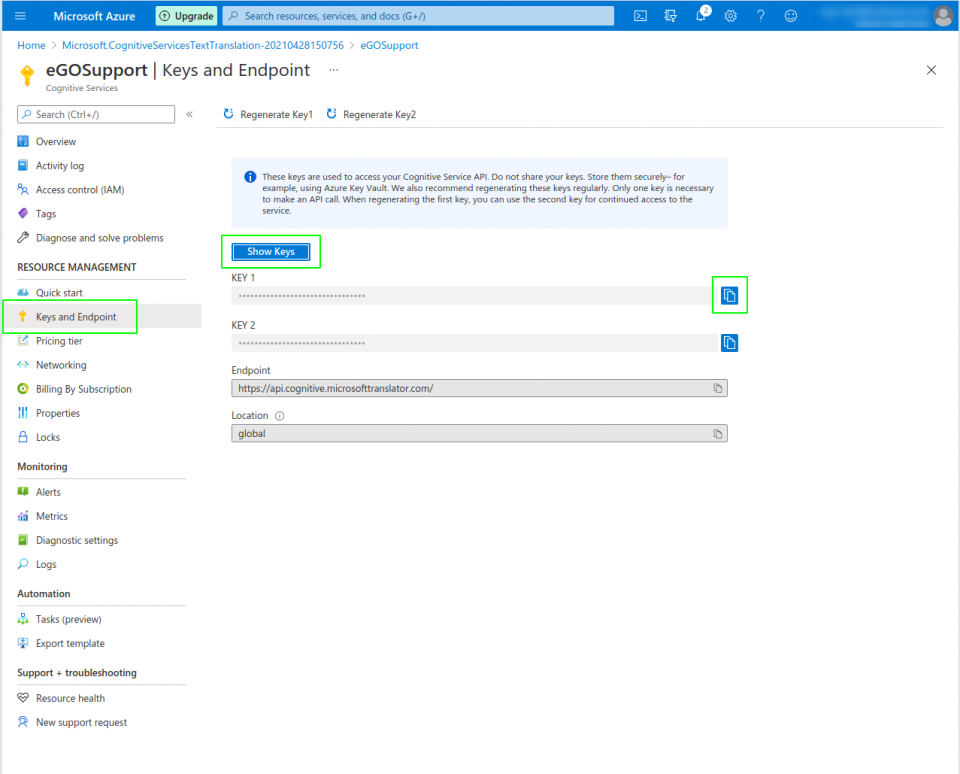 .
.
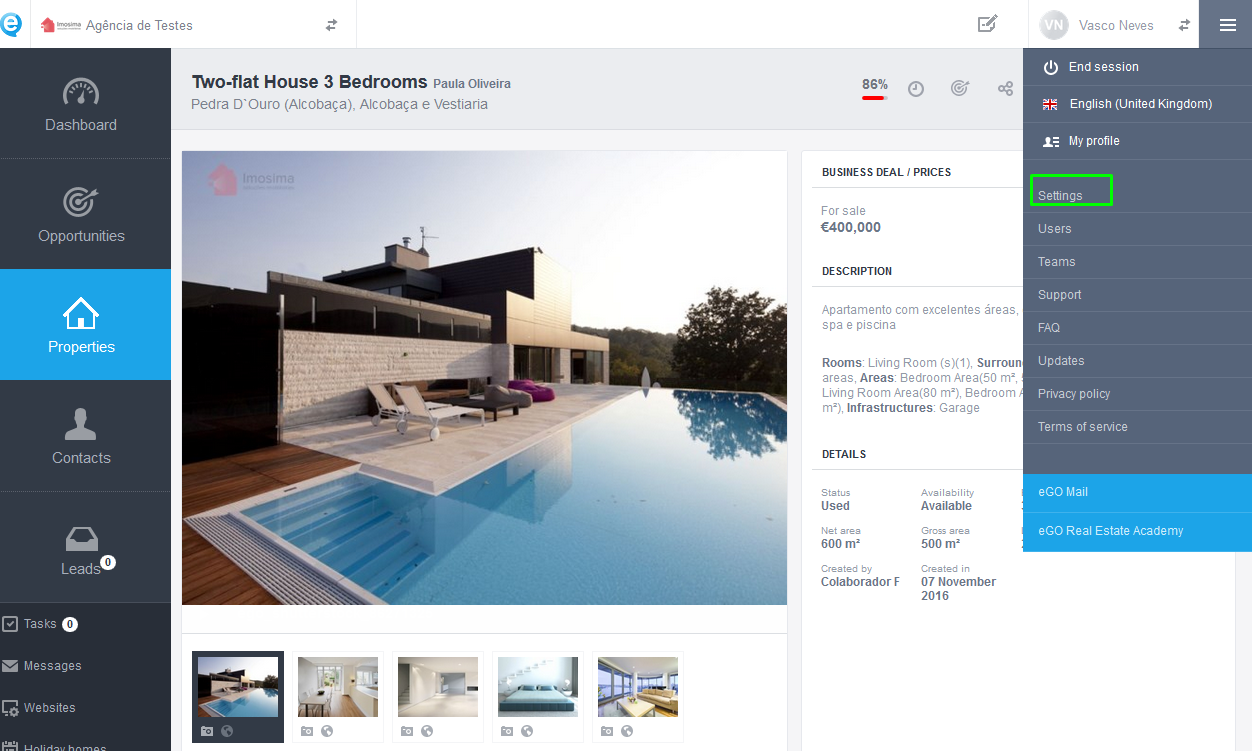
Step 8 – You must now open eGO Real Estate and go to Settings:
Step 9 – On the Management tab, scroll down until you find Translations. Click on Configure Microsoft Translator automatic service;


Step 10 – Write the keys on eGO (see step 7)
On Subscription ID, you must write the name you got before on NAME
On Key 1 you must write the code you copied from Key 1
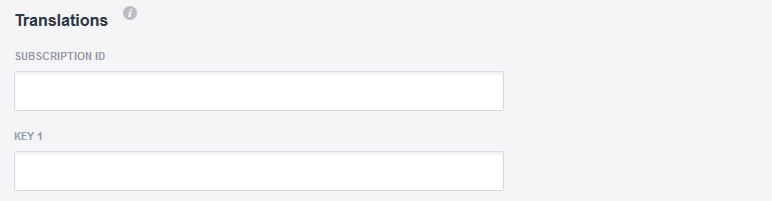
When you are ready, click on Save!
Now you have set up Microsoft Azure’s translation services on eGO.
NOTE: This free trial will expire within 30 days! To make sure you can continue using it for free, please follow the next steps.
Learn how to turn your 30-day free account on a permanent one.
NOTE: This account is called Pay As You Go, which means you only pay for what you use. These payments refer to extra features and resources associated to Microsoft Azure.
This procedure has no associated costs but you must configure it right.
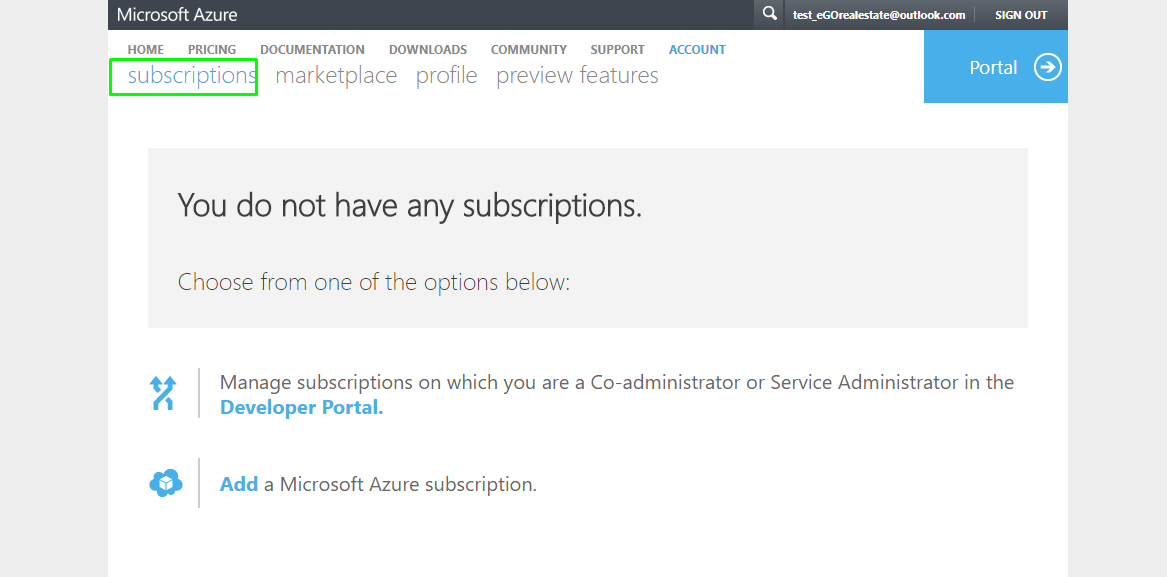
Step 1 – Access the link account.azure.com/subscription. There will be an error message. Don’t worry, it’s perfectly normal.
Step 2 – You must log in directly on your account and click on Subscriptions;
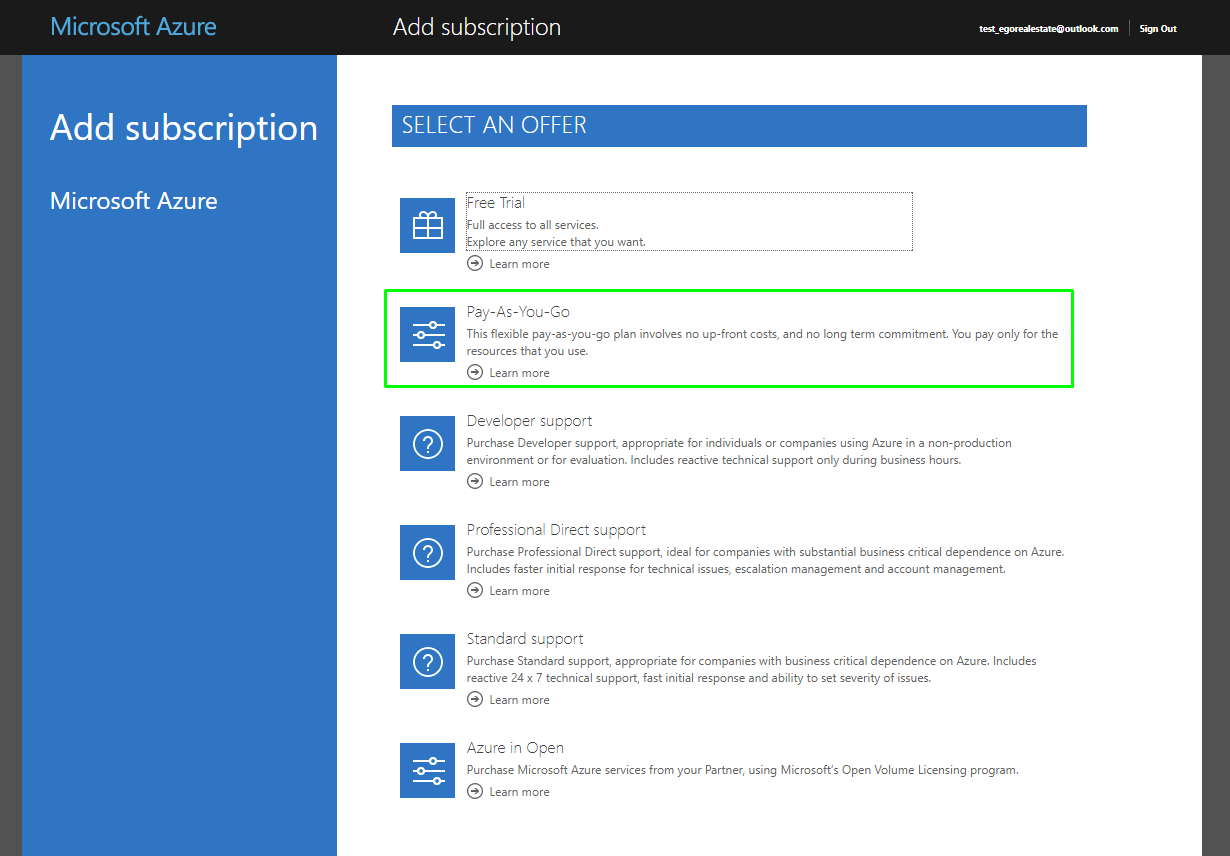
Step 3 – On Pay as You Go, click on the text in yellow.
NOTE: The system may take a few seconds loading. Please, wait!
Step 4 – Your signature is now updated! On the next popup, you must choose the free option.
After choosing this option you must click on ‘Next‘;
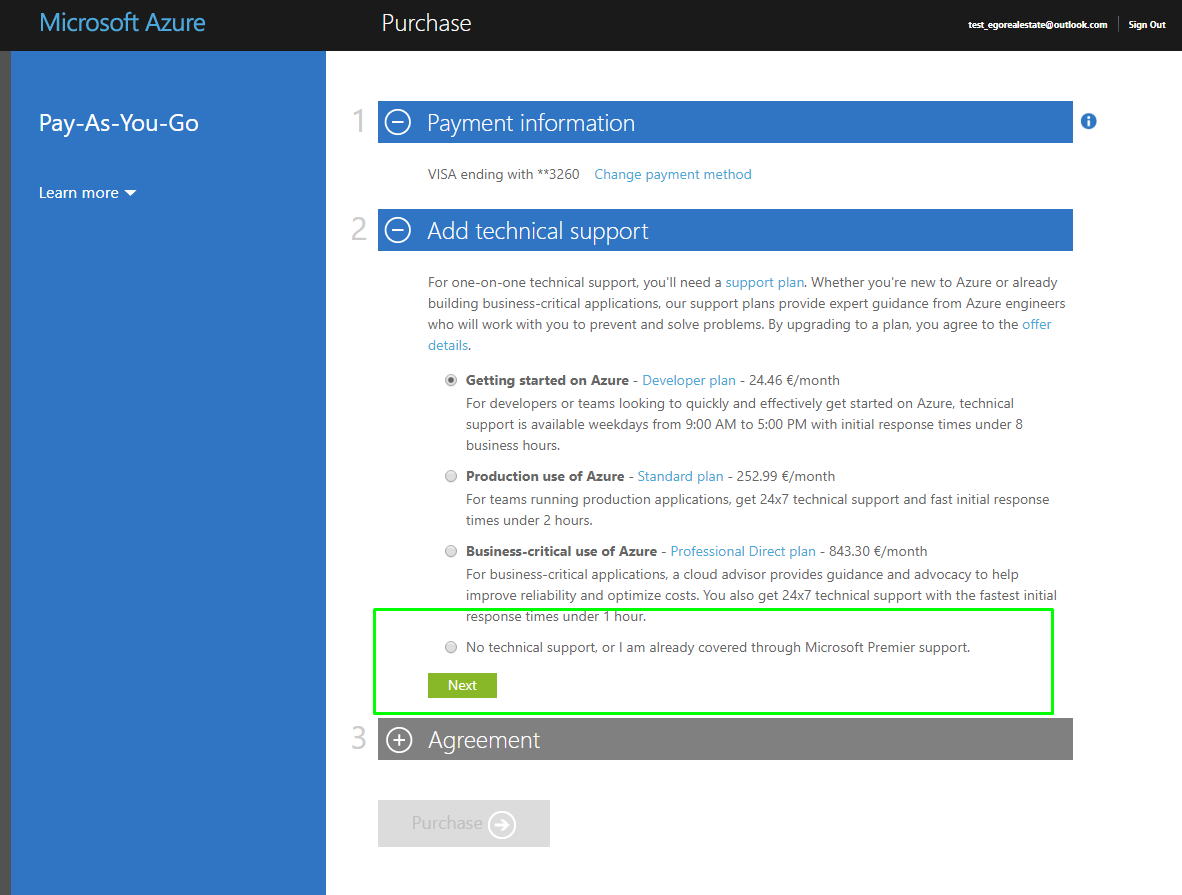
NOTE: In case you cannot see the Cancel button, close the popup by clicking on X.
Step 5 – Your account has been updated to a Pay as You Go one. This way you wont have to reconfigure it after the 30-day trial. You can now click on Sign out.